Are soaker hoses easy to install?
Aug 01, 2025
Hey there! As a supplier of Soaker Hoses, I often get asked if these nifty watering tools are easy to install. Well, let me tell you, the answer is a resounding yes! In this blog, I'll break down the installation process, share some tips, and explain why Soaker Hoses are a great addition to your garden.
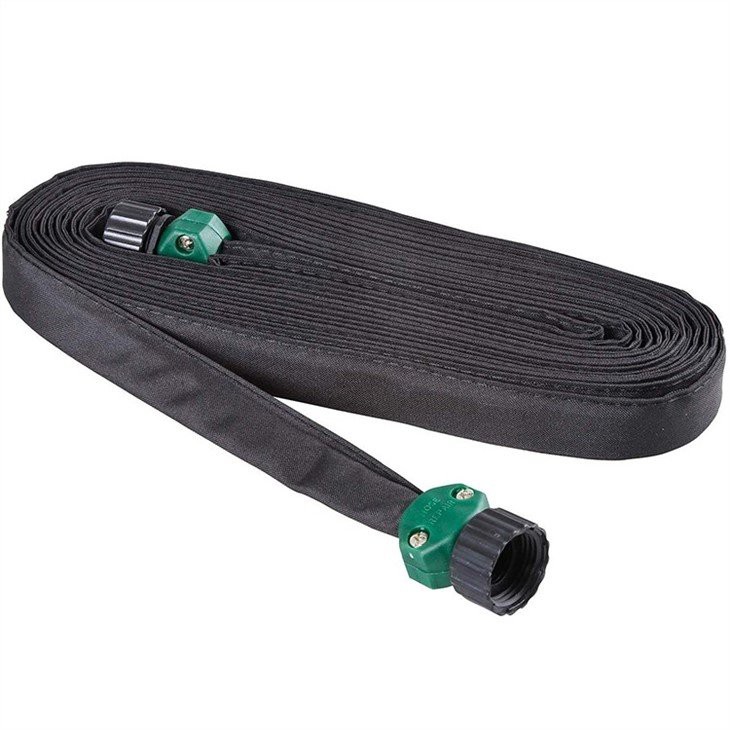
First off, let's talk about what a Soaker Hose is. A Soaker Hose, as the name suggests, is a type of hose that allows water to seep out slowly along its entire length. This is in contrast to traditional hoses that spray water out in a stream. The slow seepage of water makes Soaker Hoses ideal for watering plants at the root level, which helps prevent water waste and reduces the risk of plant diseases caused by wet foliage. You can check out our Soaker Hose options on our website.
Now, let's get into the installation process. The beauty of Soaker Hoses is that you don't need to be a gardening expert or have any special tools to install them. Here's a step-by-step guide to help you get started:
Step 1: Plan Your Layout
Before you start laying out your Soaker Hose, take a look at your garden and decide where you want to place it. Consider the location of your plants, the shape of your garden beds, and the source of your water supply. You want to make sure that the Soaker Hose covers all the areas where you need to water your plants. It's a good idea to measure the length of your garden beds to determine how much Soaker Hose you'll need.
Step 2: Gather Your Materials
Once you have a plan for your layout, gather the materials you'll need for the installation. In addition to the Soaker Hose, you'll need a hose connector to attach the Soaker Hose to your water source, and possibly some stakes or clips to secure the hose in place. You can find these materials at your local hardware store or garden center. We also offer a range of Plastic Hose Pipe and Plastic Net Hose Pipe options that can be used in conjunction with your Soaker Hose.
Step 3: Connect the Soaker Hose to Your Water Source
The next step is to connect the Soaker Hose to your water source. This is usually a garden faucet or a water timer. To do this, simply attach the hose connector to the end of the Soaker Hose and then screw it onto the faucet or timer. Make sure the connection is tight to prevent any leaks.
Step 4: Lay Out the Soaker Hose
Now it's time to lay out the Soaker Hose in your garden. Start at the water source and unroll the hose along the perimeter of your garden beds. You can snake the hose around your plants or lay it in a straight line, depending on your preference. Make sure the hose is in contact with the soil so that the water can seep into the ground. Use stakes or clips to secure the hose in place and prevent it from moving around.
Step 5: Test the Soaker Hose
Once you have laid out the Soaker Hose, turn on the water and let it run for a few minutes to test the system. Check for any leaks or blockages in the hose. If you notice any problems, turn off the water and make the necessary adjustments. You may need to adjust the water pressure or clean the holes in the hose to ensure that the water is flowing evenly.
Step 6: Bury the Soaker Hose (Optional)
If you want to hide the Soaker Hose and protect it from damage, you can bury it in the soil. Simply dig a shallow trench along the path of the hose and place the hose in the trench. Cover the hose with a few inches of soil, making sure not to cover the holes in the hose. Burying the Soaker Hose can also help keep the soil moist for longer periods of time.
As you can see, installing a Soaker Hose is a relatively simple process that anyone can do. It doesn't require any special skills or tools, and it can save you a lot of time and effort in the long run. Plus, using a Soaker Hose is a more efficient way to water your plants, which can help you save water and reduce your water bill.

Here are some additional tips to make the installation process even easier:
- Use a water timer: A water timer can help you automate the watering process and ensure that your plants are getting the right amount of water at the right time. You can set the timer to turn on and off at specific intervals, so you don't have to worry about remembering to water your plants.
- Cut the Soaker Hose to the right length: If you need to cut the Soaker Hose to fit your garden, use a sharp pair of scissors or a utility knife. Make sure to cut the hose at a straight angle to prevent any leaks.
- Clean the Soaker Hose regularly: Over time, the holes in the Soaker Hose can become clogged with dirt and debris. To keep the hose working properly, clean it regularly by soaking it in a solution of water and vinegar or using a hose cleaning tool.
In conclusion, Soaker Hoses are definitely easy to install. They're a great way to water your plants efficiently and effectively, and they can add a lot of convenience to your gardening routine. Whether you're a seasoned gardener or just starting out, I highly recommend giving Soaker Hoses a try.
If you're interested in purchasing Soaker Hoses or have any questions about our products, please don't hesitate to reach out. We'd be more than happy to help you find the right solution for your garden. Let's start a conversation and see how we can work together to make your gardening experience even better!
References
- Gardening Know How. (n.d.). How to Use Soaker Hoses in the Garden. Retrieved from [Website URL]
- The Spruce. (n.d.). How to Install a Soaker Hose. Retrieved from [Website URL]