Are there any safety precautions when repairing hoses?
Jun 19, 2025
As a reputable Hose Repairer supplier, I've witnessed firsthand the importance of safety precautions when it comes to hose repair. Hoses are used in a wide range of industries, from automotive to manufacturing, and any oversight during the repair process can lead to serious consequences. In this blog, I'll delve into the essential safety measures that every hose repairer should follow to ensure a safe and efficient repair job.
Understanding the Risks
Before diving into the repair process, it's crucial to understand the potential risks associated with hose repair. Hoses can carry various substances, including chemicals, fuels, and high-pressure fluids. Working with these hoses without proper precautions can expose you to chemical burns, explosions, and other hazards. Additionally, hoses may be under pressure, which can cause sudden releases of energy if not handled correctly.

Personal Protective Equipment (PPE)
One of the first steps in ensuring safety during hose repair is to wear the appropriate personal protective equipment (PPE). This includes safety glasses, gloves, and protective clothing. Safety glasses protect your eyes from flying debris, while gloves provide a barrier against chemicals and sharp edges. Protective clothing, such as coveralls or aprons, can prevent skin contact with hazardous substances.
When selecting PPE, make sure it is appropriate for the type of hose and the substances it carries. For example, if you're working with chemical hoses, choose gloves and clothing that are resistant to the specific chemicals. It's also important to inspect your PPE regularly for any signs of damage or wear and replace it as needed.
Isolation and Depressurization
Before starting any repair work, it's essential to isolate the hose from the source of pressure and depressurize it. This involves shutting off the valves or pumps that supply the fluid to the hose and releasing any built-up pressure. Failure to do so can result in a sudden release of high-pressure fluid, which can cause serious injury.
To depressurize a hose, follow these steps:
- Locate the valves or pumps that control the flow of fluid to the hose.
- Close the valves or turn off the pumps.
- Slowly open a bleed valve or fitting on the hose to release the pressure. Make sure to do this in a controlled manner to avoid a sudden release of fluid.
- Monitor the pressure gauge to ensure that the pressure has been completely released.
Inspection and Testing
Once the hose has been isolated and depressurized, it's time to inspect it for any damage or wear. Look for signs of cracks, leaks, bulges, or abrasions. Pay special attention to the fittings and connections, as these are often the areas where problems occur.
In addition to a visual inspection, it's also a good idea to test the hose for leaks. You can do this by applying a soapy water solution to the fittings and connections and looking for bubbles. If you detect a leak, mark the area and proceed with the repair.
Repair Techniques
When it comes to hose repair, there are several techniques that you can use, depending on the type and extent of the damage. Some common repair techniques include:
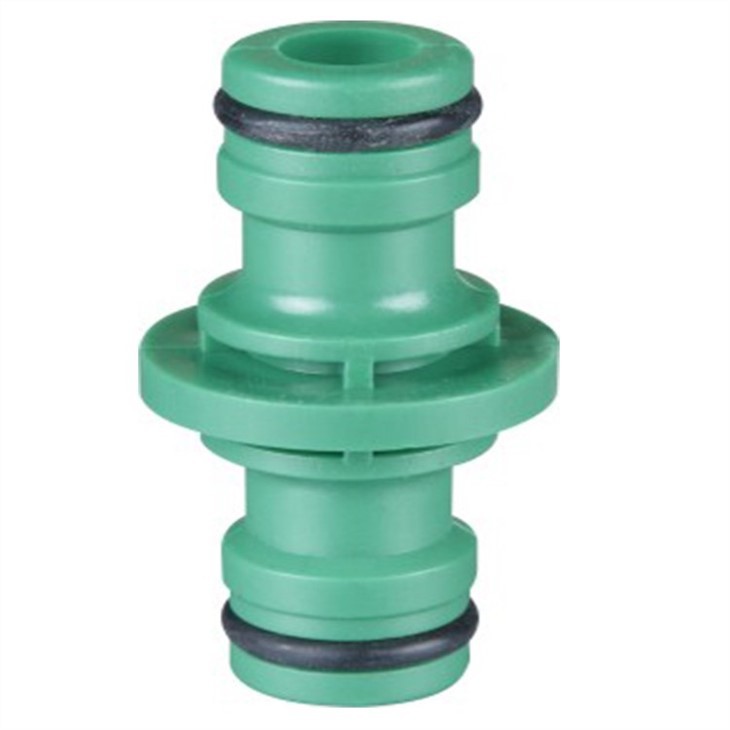
- Splicing: This involves cutting out the damaged section of the hose and joining the two ends together using a coupling or connector. Hose Repairer can be used to make these repairs quickly and easily.
- Patching: For minor leaks or damage, you can use a patch kit to repair the hose. Make sure to follow the manufacturer's instructions carefully when applying the patch.
- Replacement: In some cases, it may be necessary to replace the entire hose. This is often the best option if the hose is severely damaged or if it has reached the end of its service life.
Handling and Storage
After the repair is complete, it's important to handle and store the hose properly to prevent further damage. When handling the hose, avoid dragging it across rough surfaces or sharp edges. Use a hoist or other lifting equipment to move heavy hoses.
When storing the hose, make sure it is clean and dry. Coil the hose neatly and store it in a cool, dry place away from direct sunlight and heat sources. Avoid storing the hose in a position where it is under stress or pressure.
Additional Safety Tips
Here are some additional safety tips to keep in mind when repairing hoses:
- Use the right tools: Make sure you have the appropriate tools for the job. Using the wrong tools can not only make the repair more difficult but also increase the risk of injury.
- Follow the manufacturer's instructions: Always follow the manufacturer's instructions when using hoses, fittings, and repair kits. This will ensure that the repair is done correctly and safely.
- Train your employees: If you have employees who are involved in hose repair, make sure they are properly trained in safety procedures and repair techniques. Provide them with regular training and refresher courses to keep their skills up to date.
- Keep a first aid kit nearby: In case of an accident, it's important to have a first aid kit readily available. Make sure your first aid kit is well-stocked and that your employees know how to use it.
Conclusion
In conclusion, safety should always be the top priority when repairing hoses. By following the safety precautions outlined in this blog, you can minimize the risk of injury and ensure a safe and efficient repair job. As a Hose Repairer supplier, we are committed to providing high-quality products and solutions that meet the needs of our customers. If you have any questions or need assistance with hose repair, please don't hesitate to contact us. We look forward to working with you to ensure the safety and reliability of your hoses.
References
- Occupational Safety and Health Administration (OSHA). (n.d.). Hose Safety. Retrieved from [OSHA website]
- Manufacturer's manuals for hoses, fittings, and repair kits.